
Create animation
Download asset pack from Unity Asset Store or any other platform.
If you know how to work with Photoshop (or another image editor) create a spritesheet and export it as PNG with transparent background.
Single image/sprite sheet
At this point we’re going to assume that we have only 1 image/sprite sheet.
Place this image file into the Assets/Sprites folder in your Unity project.
Click on the image in the Sprites folder.
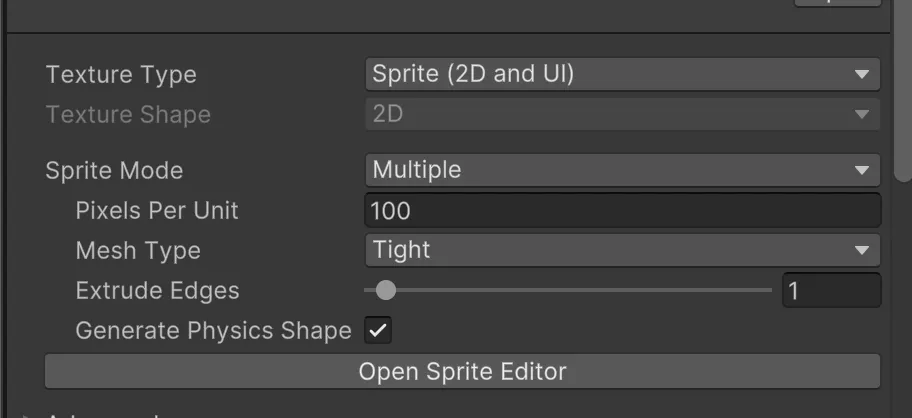
In the Inspector make sure that Texture Type is set to Sprite (2D and UI), then also choose Sprite Mode → Multiple.
Click Open Sprite Editor button.
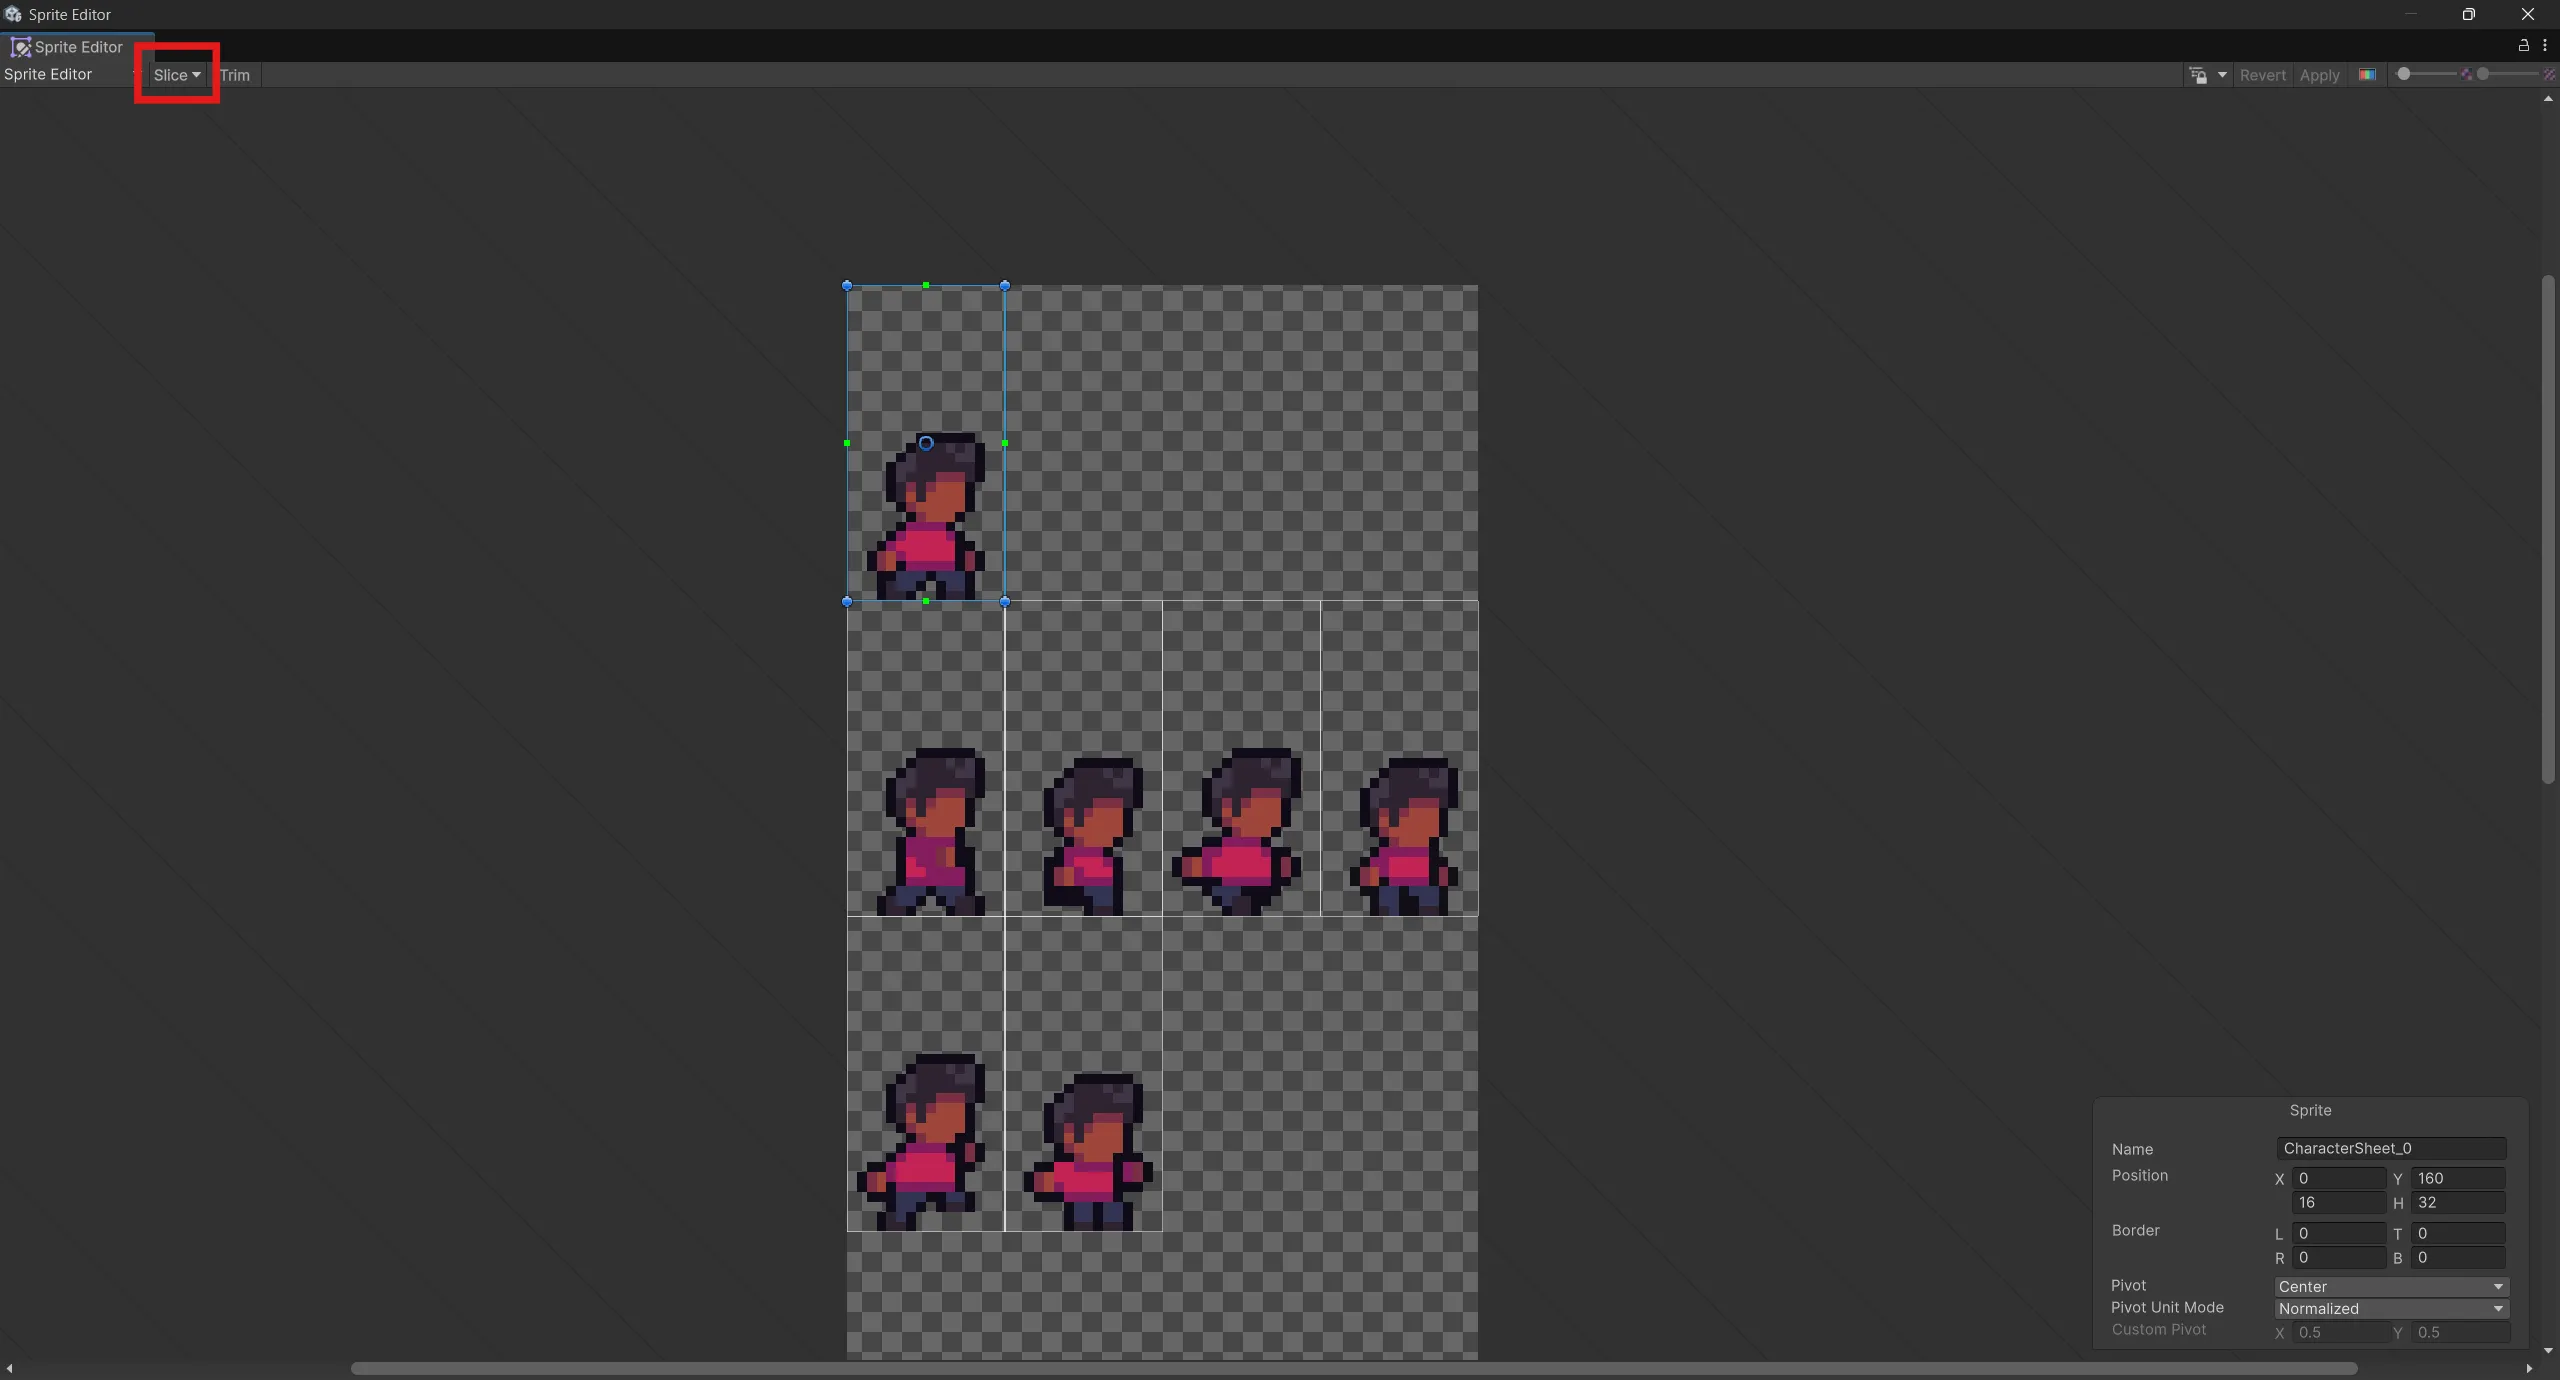
In the top left corner press Slice button.
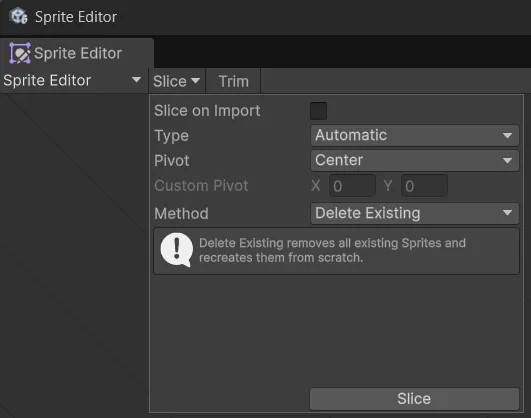
Then select Type of the slicing (most of the time Automatic will work just fine).
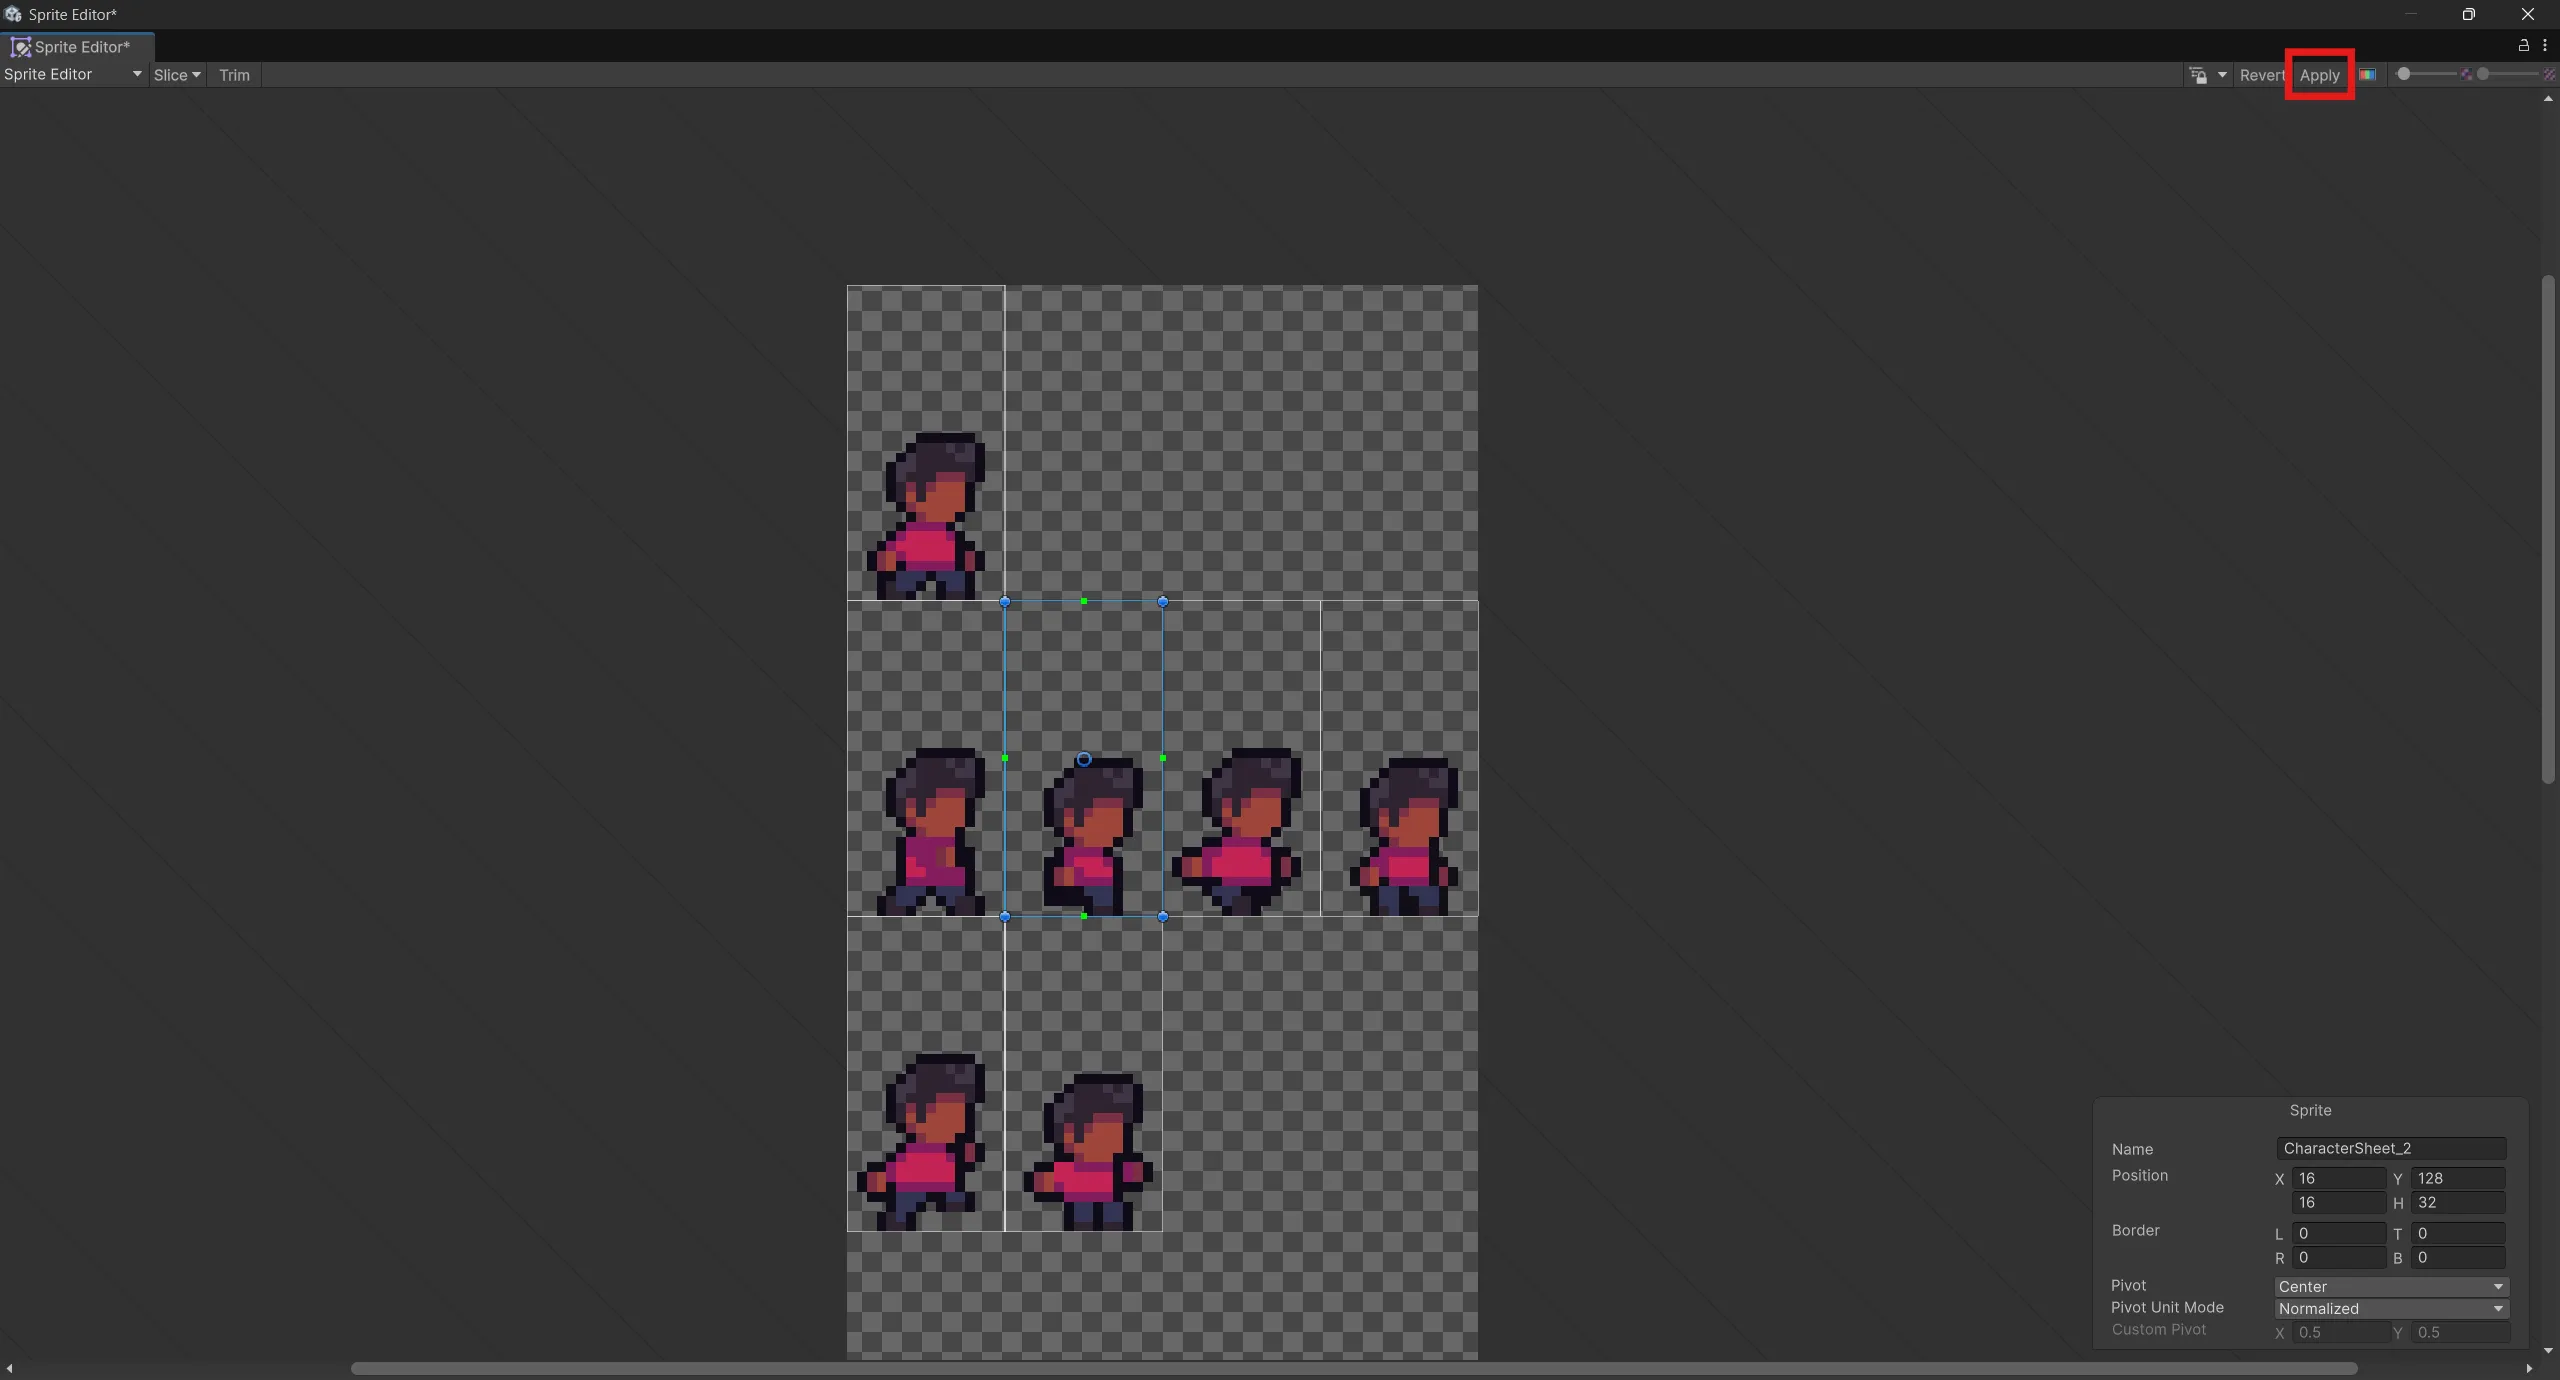
Press Apply in the top right corner.
Drag and drop first sprite (we’re going to assume that very first sprite will be default pose for our character/enemy/coin/etc.) from the sprite sheet into the scene.

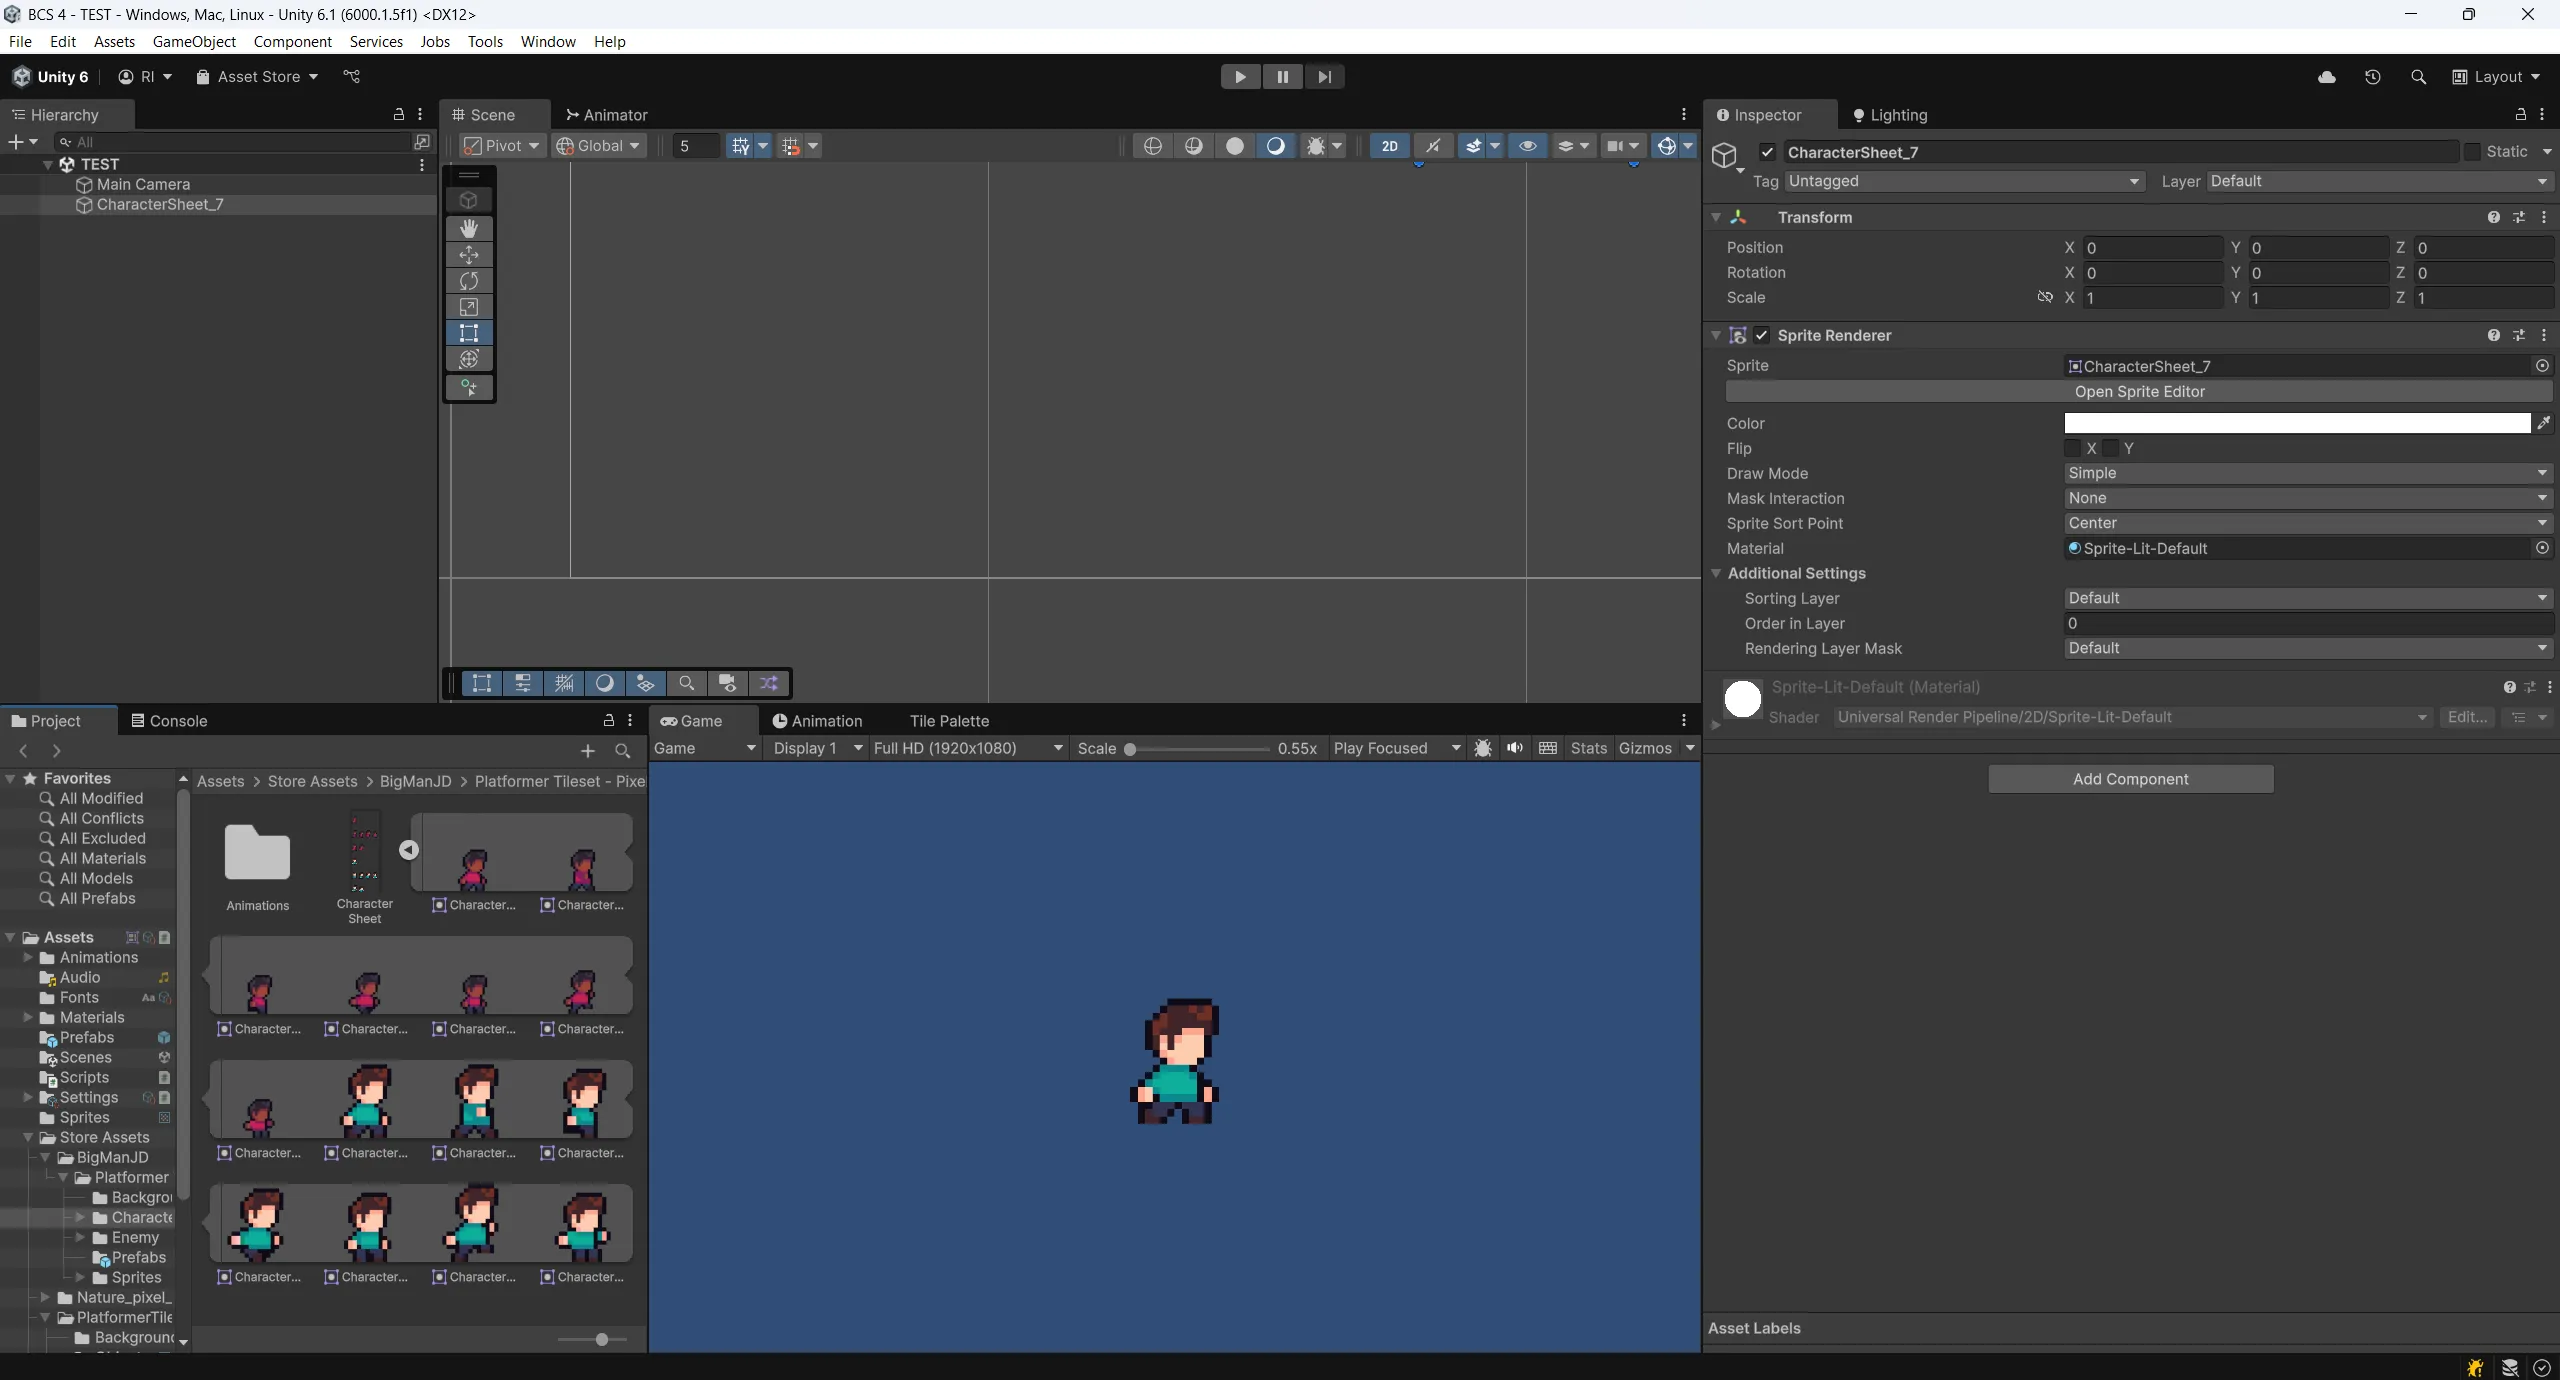
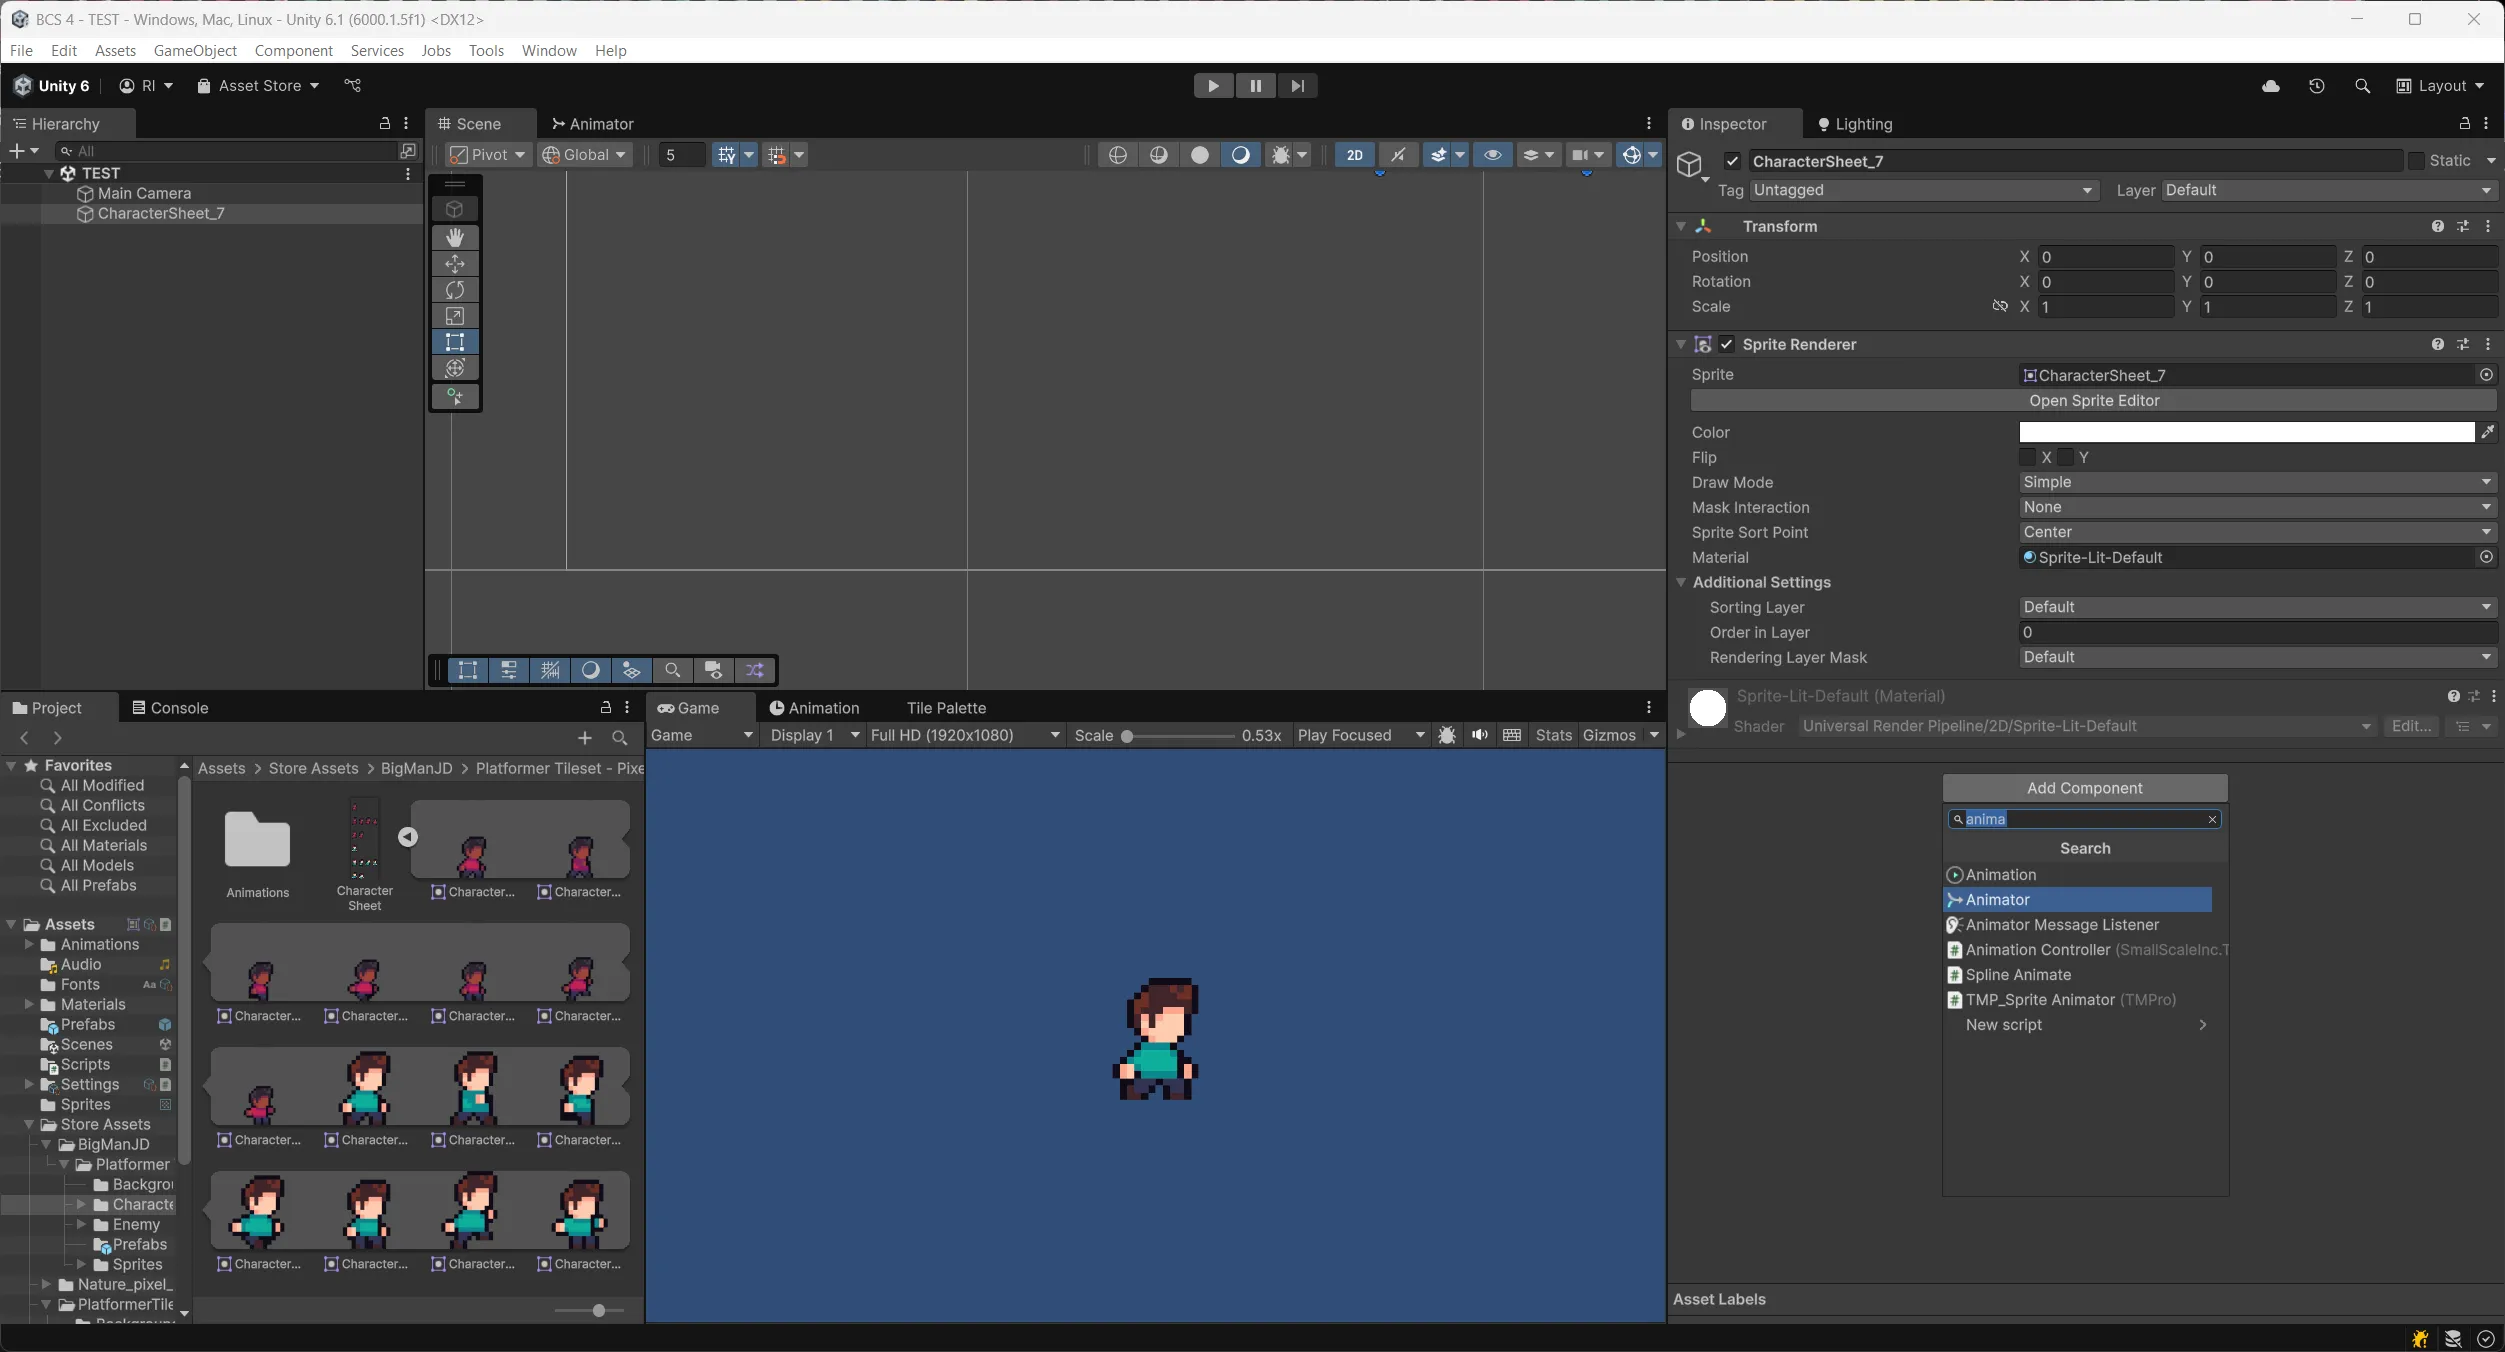
Click on Add Component button inside our object in order to add Animator component to it
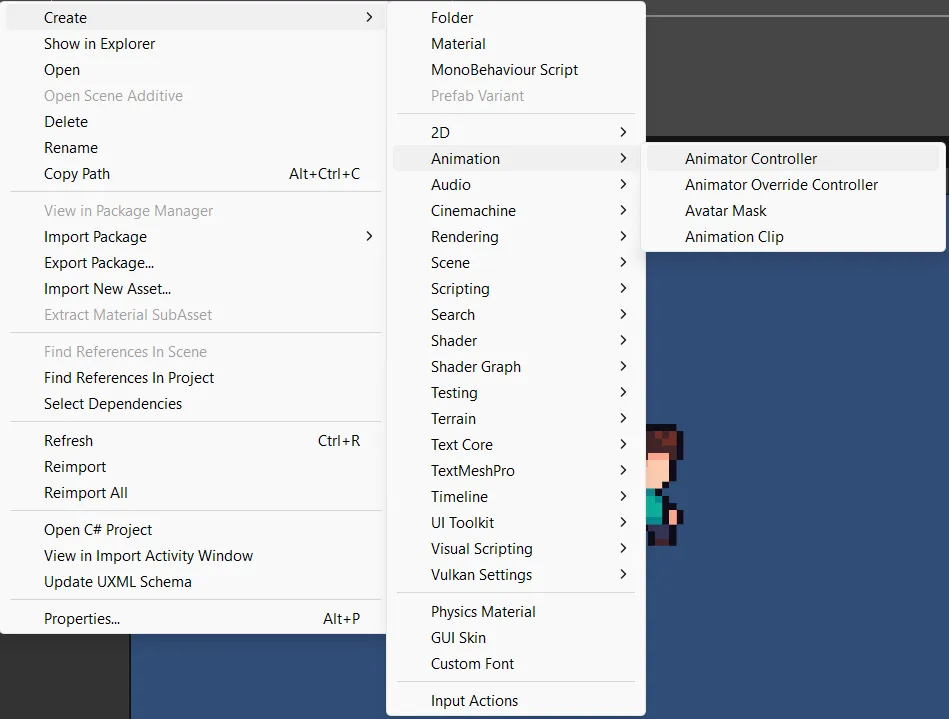
Then create Animation folder inside the Assets folder and inside this Animation folder create Animator Controller
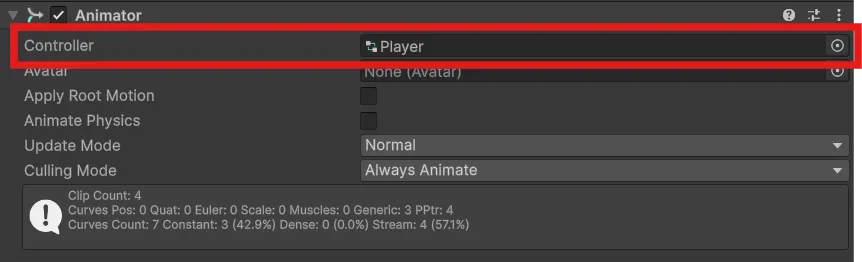
Assign Animator Controller into Controller field on Animator component
Create new Animation Clip by selecting sprites from sprite sheet which you want to use for specific animation and then selecting Create → Animation → Animation Clip
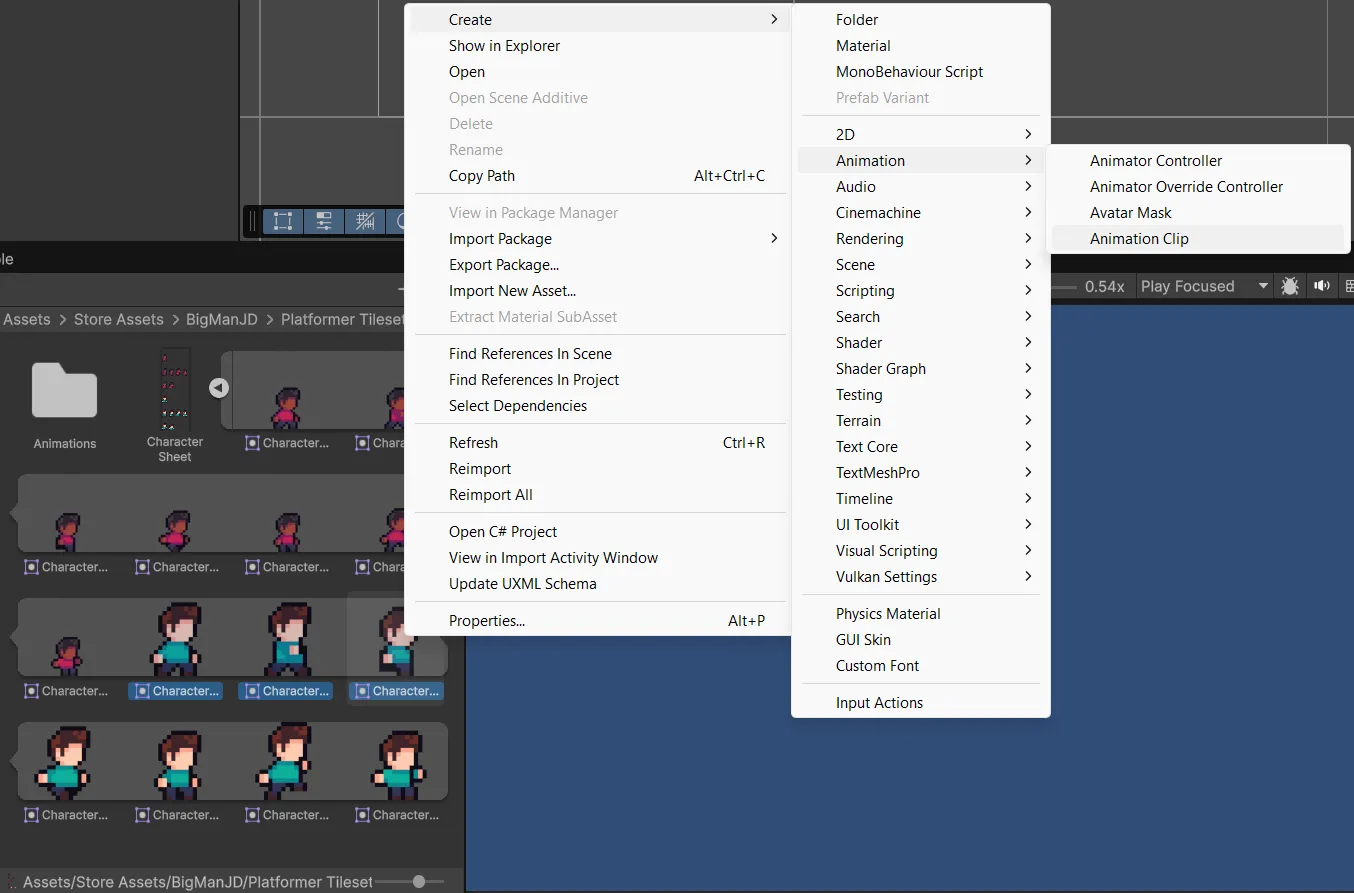
This will create new Animation Clip with all sprites which you selected.
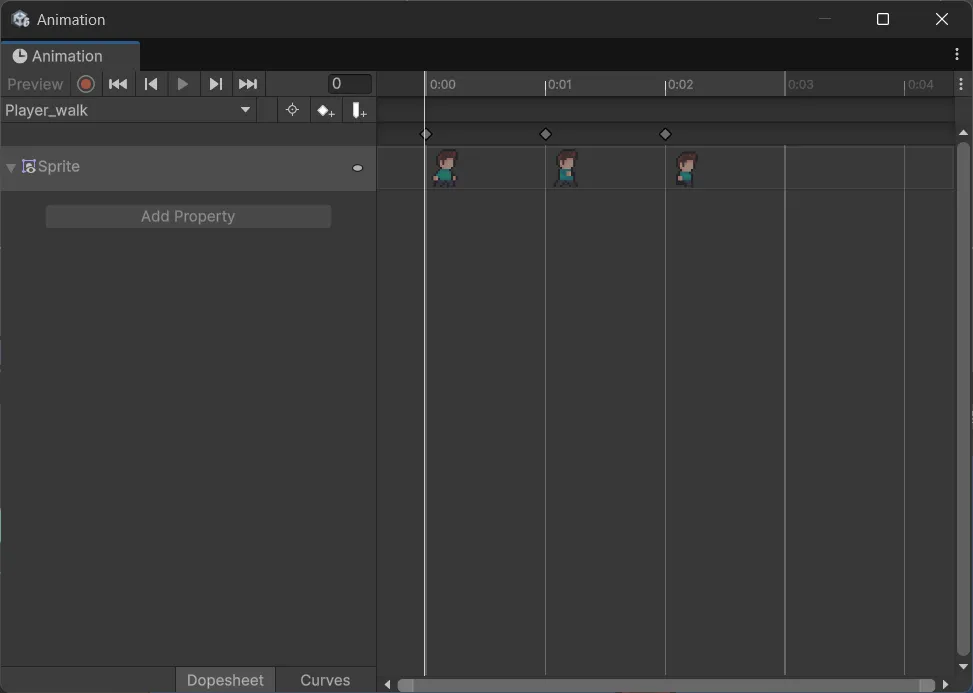
You will need to name it properly (e.g. Player_walk, Enemy_idle) and save it to Animation folder (in case you’ll have a lot of animations, might be a good idea to also create folders specifically for this object, e.g. Player, Enemy, etc.)
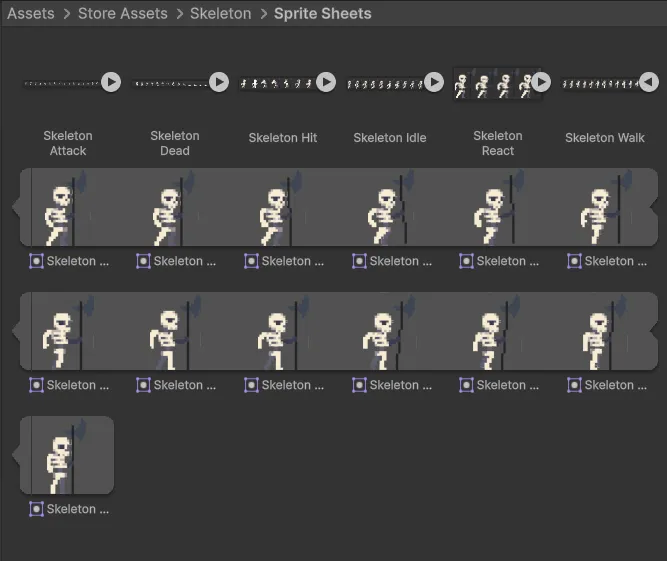
Tip: Note that sometimes creators of the assets can also separate different animation in different sprite sheets. In this case all you need to do is just select all the sprites from this sprite sheet and create animation with the same name (e.g. Skeleton_Walk)
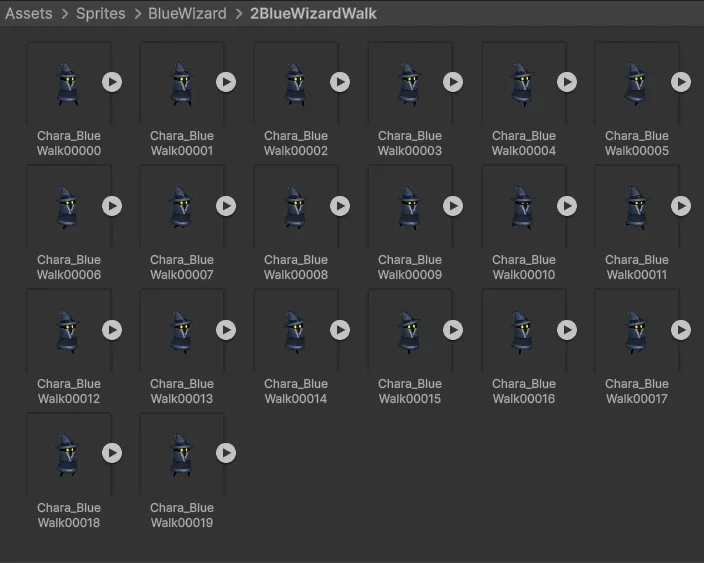
Multiple images/sprites
Sometimes, instead of a single sprite sheet, you will see that creator of the asset decided to split everything into separated image files.
In this case you can still create Animation Clip, but you’ll need to use slightly different approach.
First of all, you’ll need to create empty Animation Clip without selecting any of the sprites.
Then assign Animator component on your object (first sprite of the animation which you dragged into scene), create Animator Controller and assign it into the Controller field on Animator component.
Then add Animation Clip into Animator Controller by just dragging and dropping it into Animator window.
And final step is to create Animation Clip and by selecting all images which you intend to use for animation, just drag and drop them into Animation timeline. You can also adjust duration of this animation or change order of the sprite by just moving them inside timeline.